Add a tilt hover effect to a justified WordPress gallery for a more dynamic and premium portfolio presentation.

Confident Businessman

Working Atmosphere

Sexy Business Woman

Serious Entrepreneur
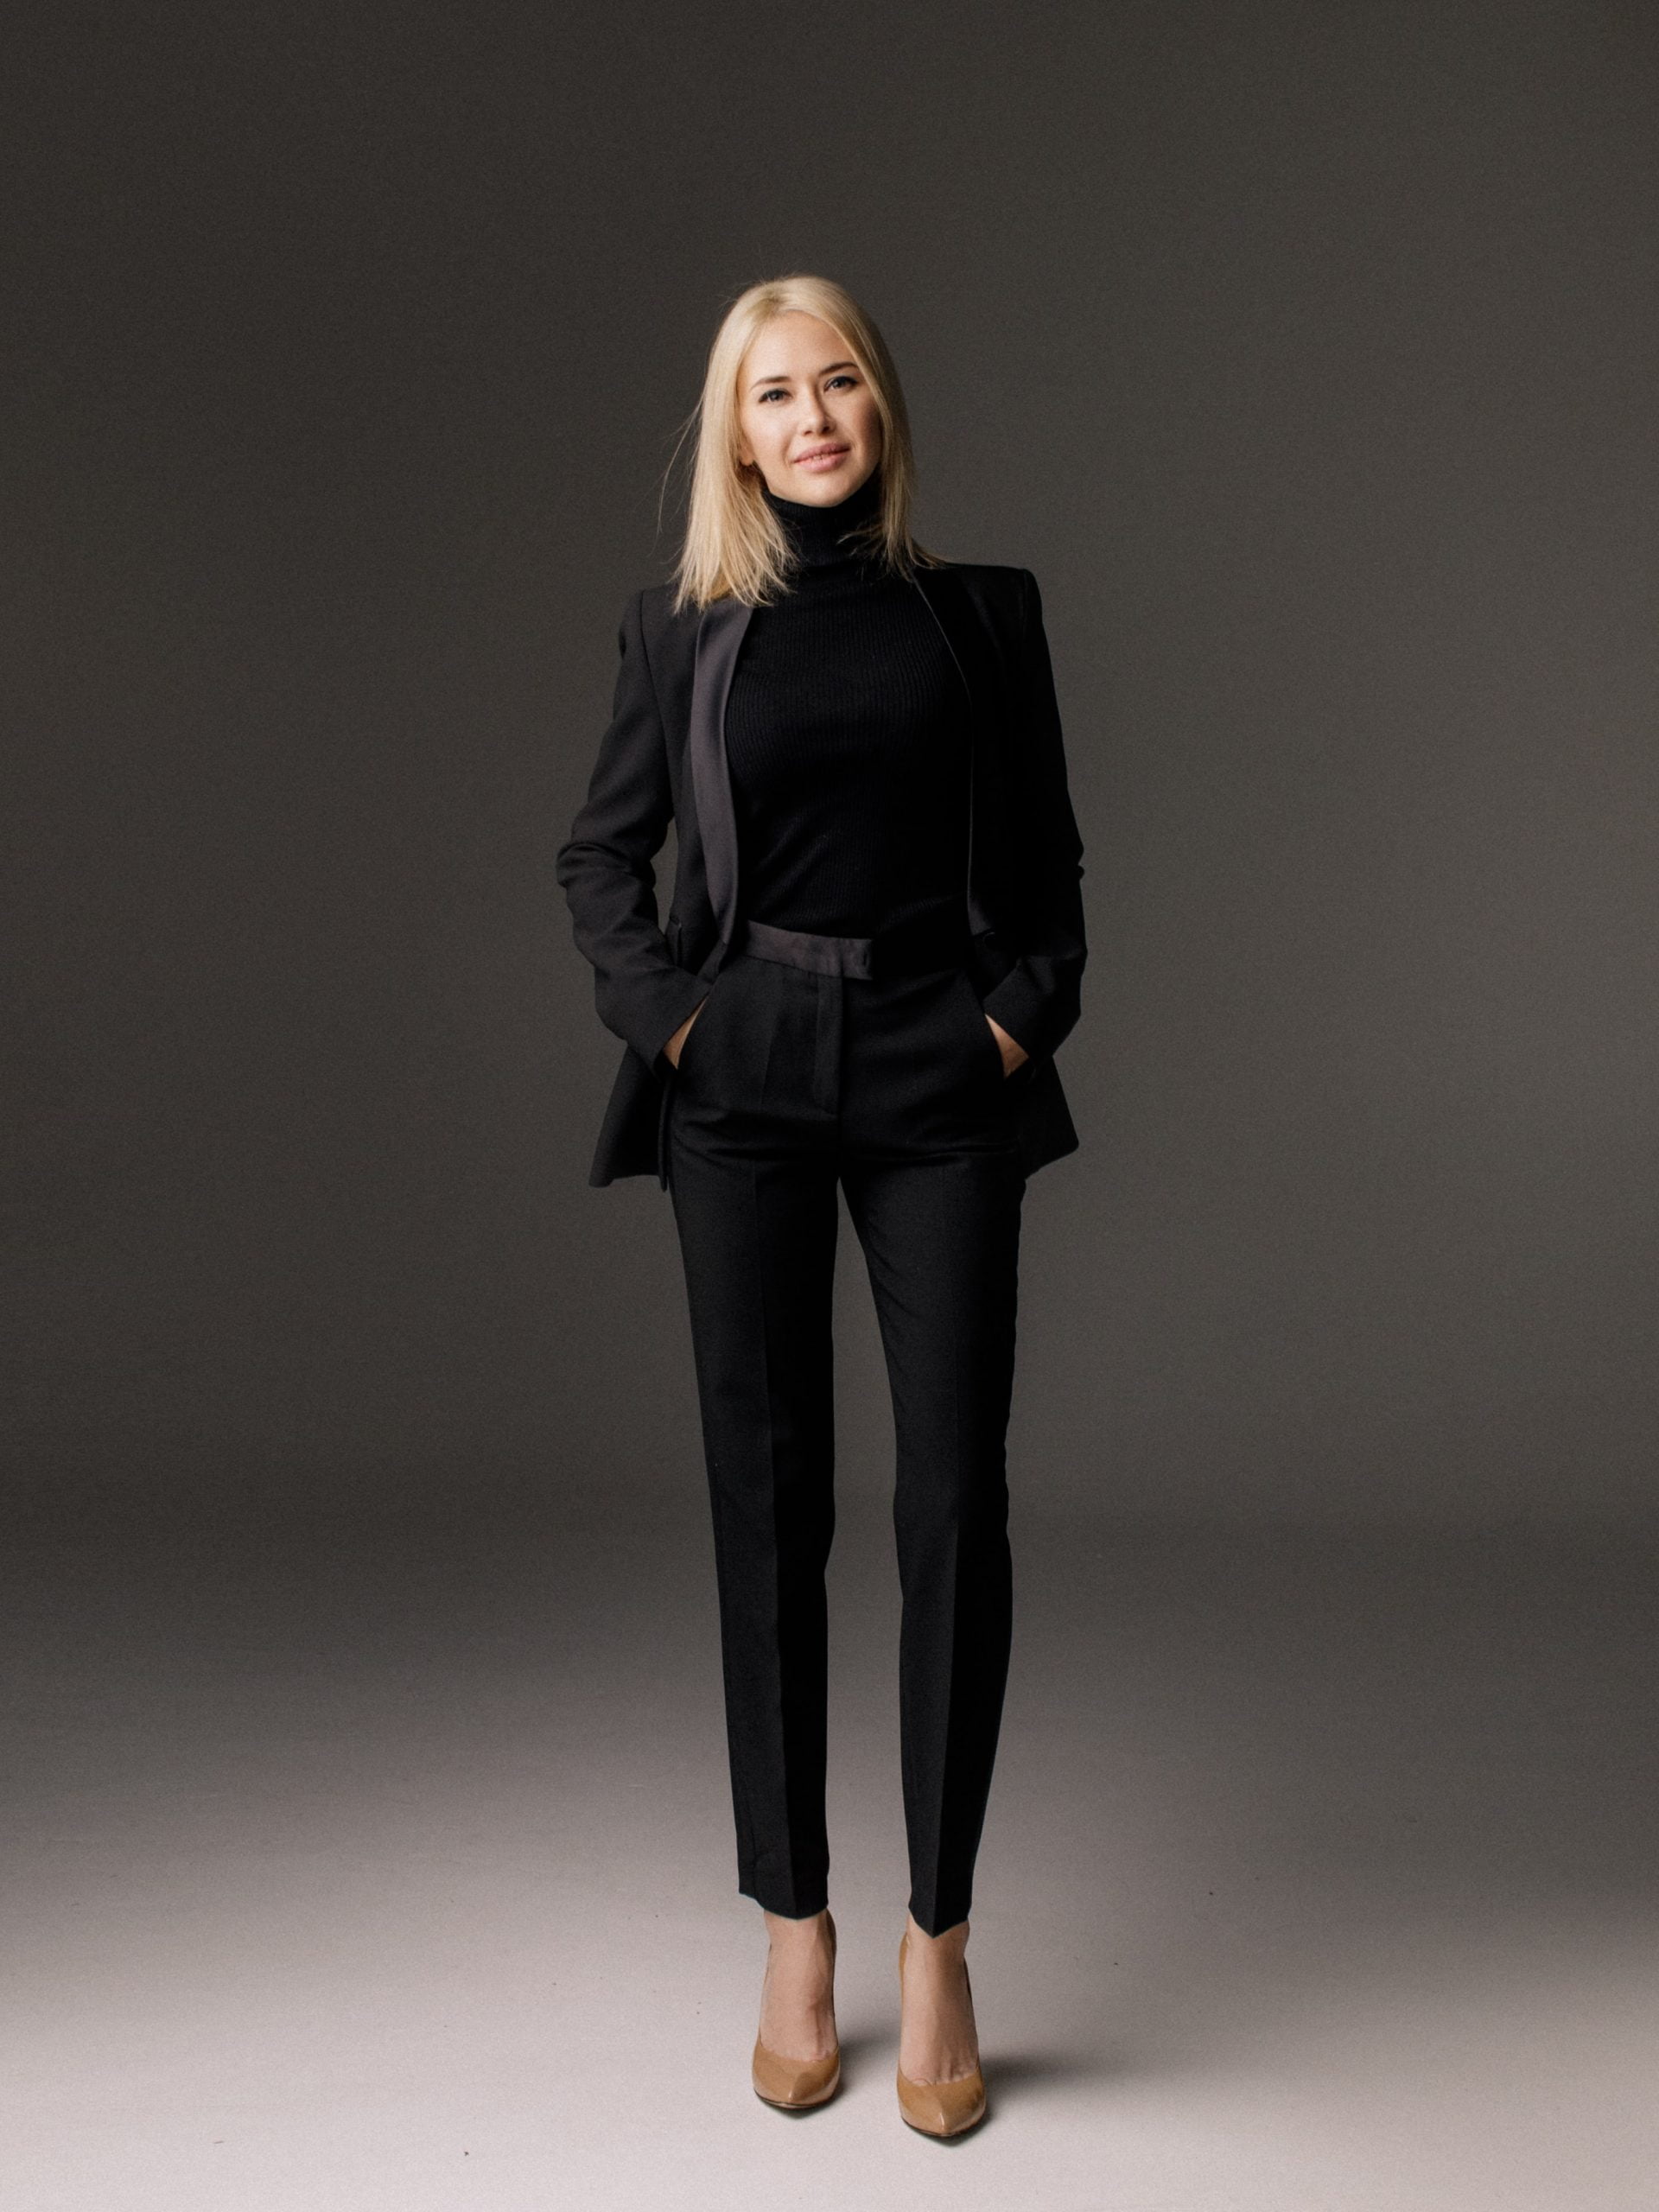
Investment Trip
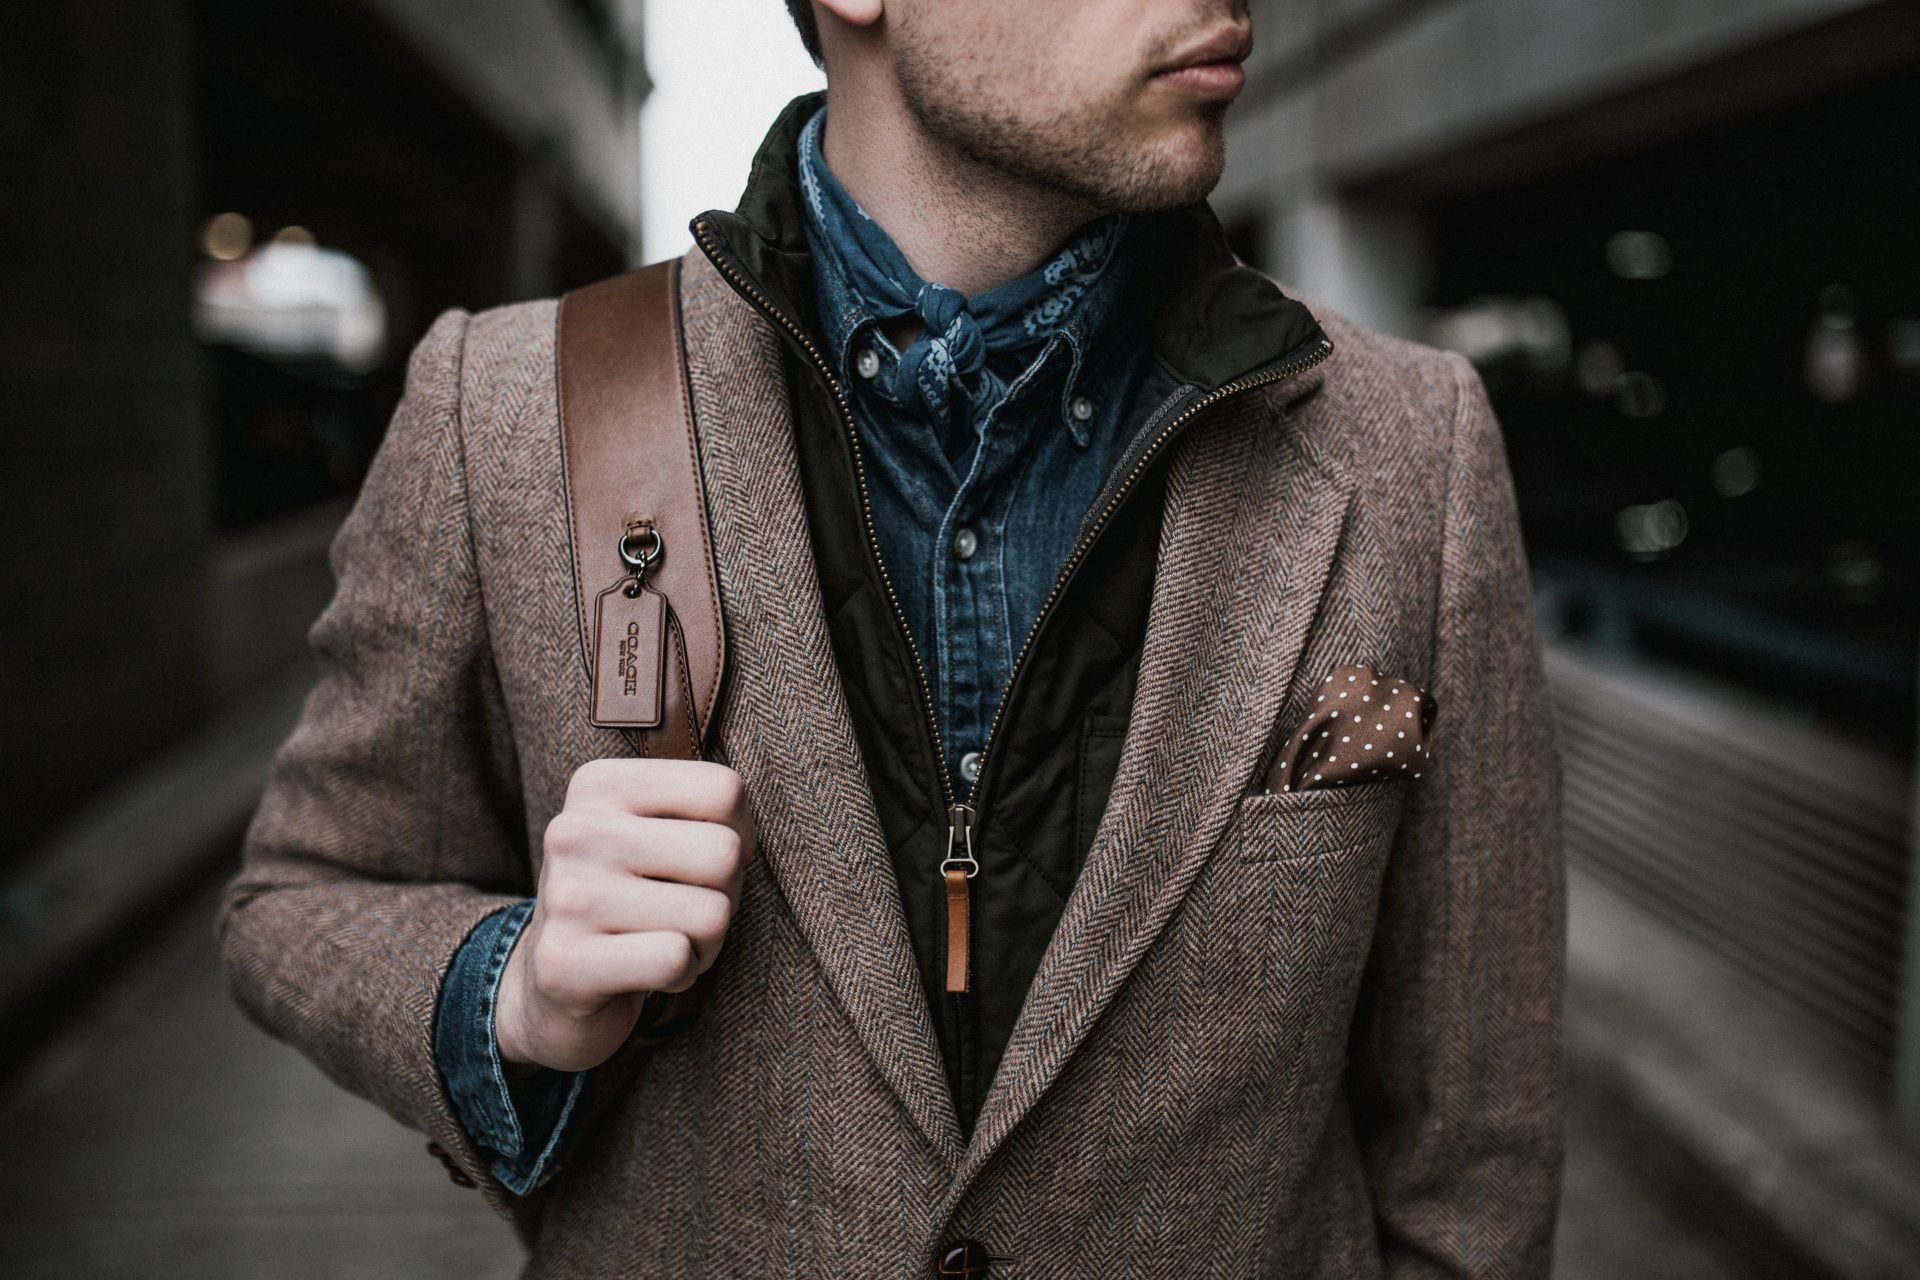
Status Indicator
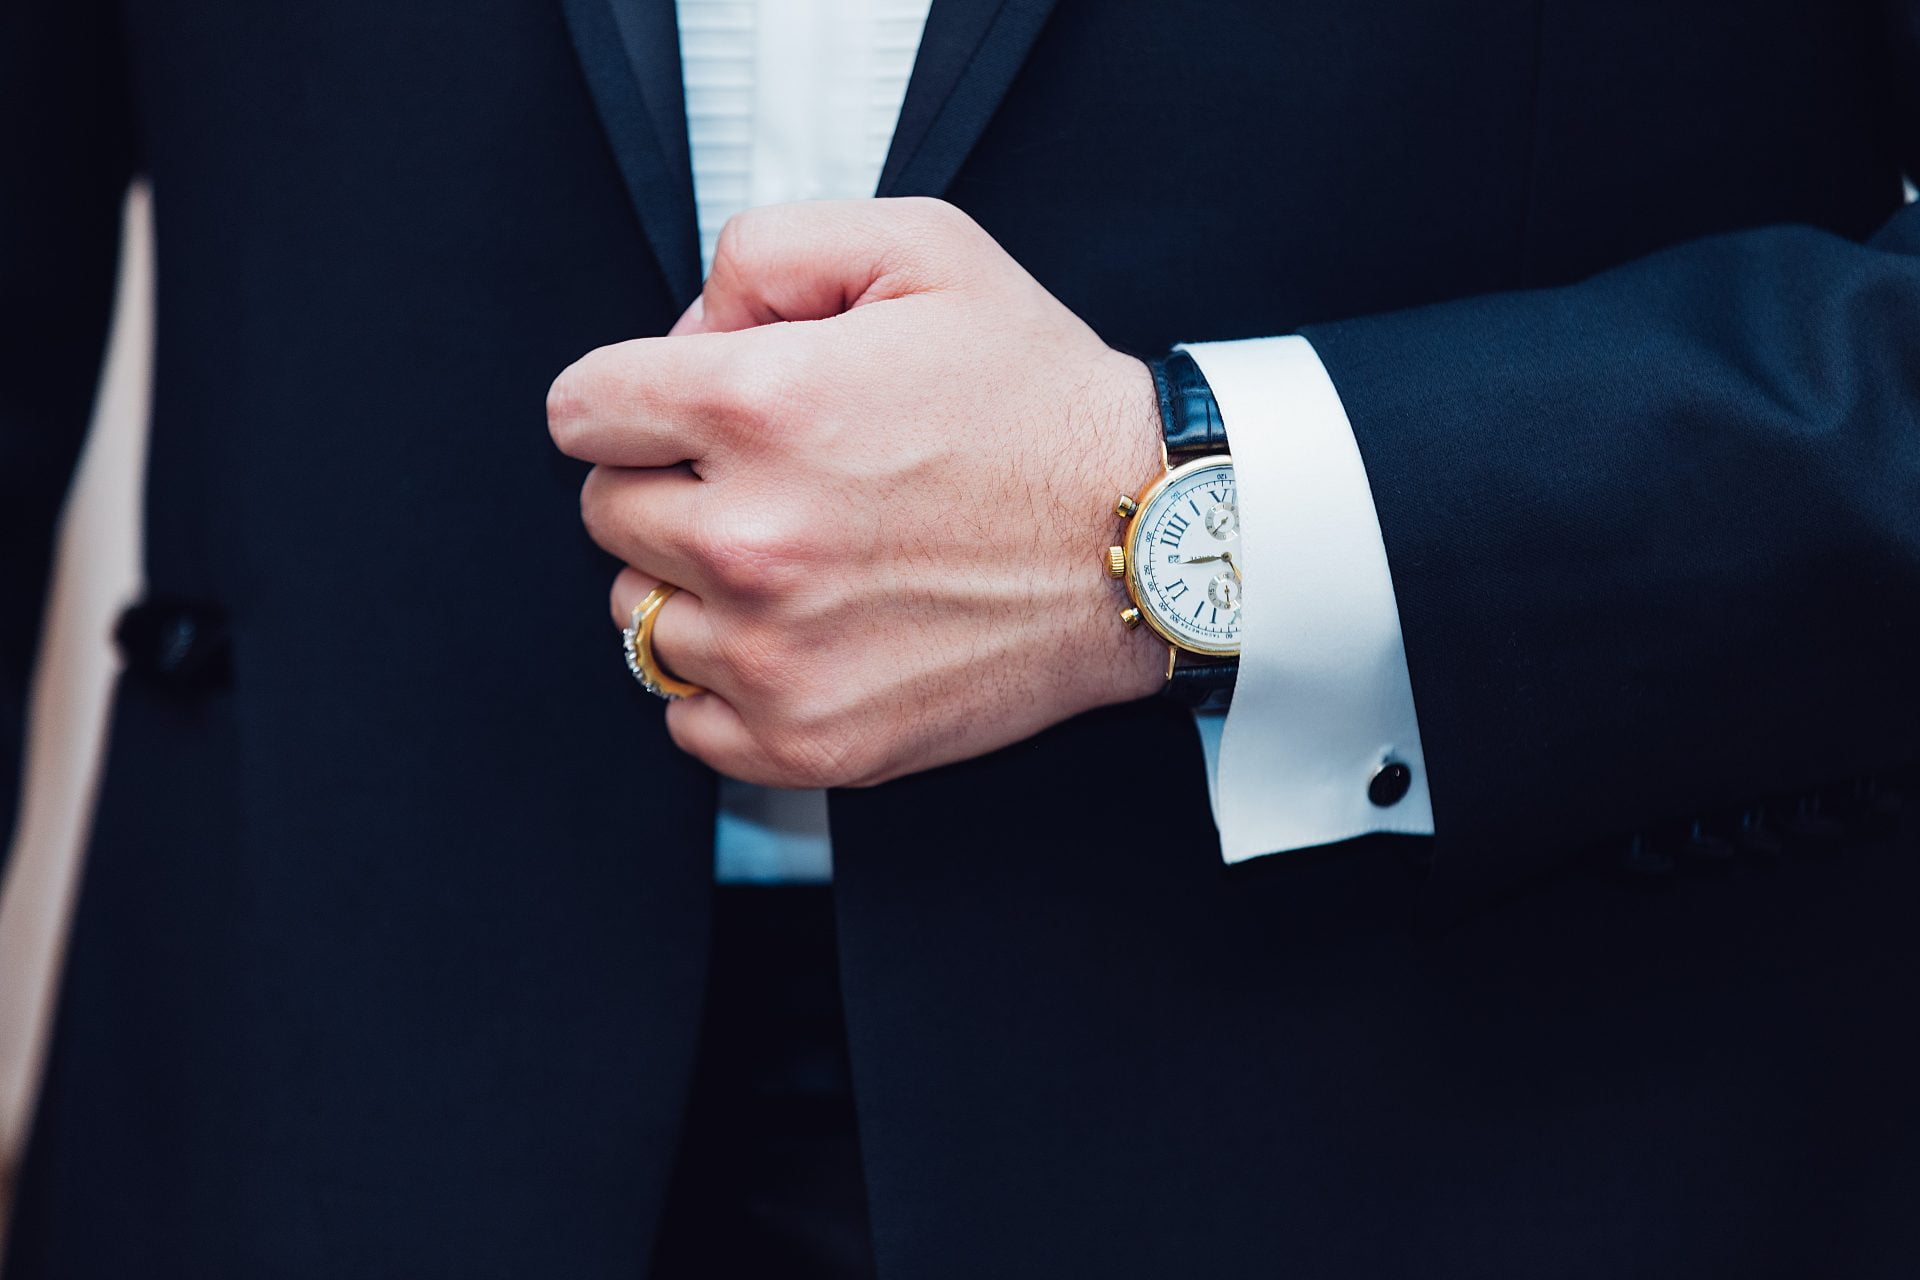
What the tilt effect does on hover
Tilt Effect is a switch on the Image tab of the Skin panel, in the Hover state. With it on, an item leans in 3D toward the pointer and tracks it across the photo, then settles flat once the pointer leaves. Tilt Effect Direction sets which way it leans. Direct is the default. Opposite leans the item away, so it looks pushed rather than pulled.
The flat alternative is Transform, on the same tab and the same Hover state. Zoom In enlarges the image by 5 percent, and the four Move options shift it by 2 percent. Either one is a nudge. Tilt reads as a surface, and a surface needs room, so it suits the tall rows that Row Height 450 produces and gets lost on a dense grid of thumbnails. A plain justified gallery has the same switch, left off.
What the Image tab controls
Every skin has this tab, so tilt is available on Classic, Fade, Fly, Emerge and Caption Move alike. The defaults below come from the skin settings reference.
- Tilt Effect is off by default and belongs to the Hover state. It needs a mouse, because a touch screen reports no pointer position to lean toward.
- Tilt Effect Direction takes Direct or Opposite, and defaults to Direct.
- Transform offers None, Zoom In and four Move directions on both states. Normal defaults to None, Hover to Zoom In.
- Filter has seventeen named presets, Inkwell and Nashville among them, or custom Brightness, Contrast, Saturation, Grayscale, Sepia, Opacity, Hue and Blur. They are CSS filters, so the image file is never rewritten.
- Border Radius on the Hover state is empty by default, and empty means the Normal value applies. Normal is 0.
- Values are stored per skin. Switch from Fade to Emerge and you start on Emerge defaults. Switch back and the Fade values return, tilt included.
Turning tilt on in three steps
- Insert the Visual Portfolio block and choose Media in the setup wizard. Add your images, open Layout, pick Justified and set Row Height to 450. Row Height Tolerance stays at its default of 0.25.
- Open Skin. Fade is already selected on a new block. On the Image tab, switch to the Hover state and turn Tilt Effect on. Leave the direction on Direct, or pick Opposite to make items lean away.
- Set Click Action to Popup, so a click opens the lightbox and not the image file. Under Layout Elements, put Filter in the top row with Style set to Dropdown, and Pagination in the bottom row.
The Image tab has one free control
Border Radius on the Normal state is the only one. Transform, Filter, Tilt Effect and Tilt Effect Direction each carry a Premium Only note in the free plugin. Justified rows, the Fade skin, the dropdown filter, paged pagination and the lightbox all ship in the free plugin on WordPress.org. Pro is one download that already contains that plugin, not an add-on to it. The free versus Pro comparison has the whole table, and the pricing page has the licenses.
- Typography and Dimensions set the overlay fonts, its padding, and the gap between title, categories and meta.
- Move Overlay Under Image drops the overlay below the photo at 320, 576, 768, 992 or 1200 px.
- Those five widths are the Responsive Breakpoints, edited in Settings under General.
- The Caption Move skin floats its caption next to the pointer.
What people ask after turning tilt on
Does the tilt work on a touch screen?
No. There is no pointer to lean toward, so the item stays flat. Every hover effect of every skin behaves that way. Set Overlay Display to Always, or use Move Overlay Under Image, and the title is readable without a hover. The hover on mobile FAQ covers both options.
Can I put this gallery in Elementor or another builder?
Yes. Elementor has a widget, WPBakery has an element, and the Classic Editor has a toolbar button. Anywhere else, a Saved Layout goes on the page through the Visual Portfolio Saved Layout block. The theme and page builder FAQ points to the compatibility list.
Why does the title sit on the image and not under it?
That is the Fade skin. Fade and Fly write the title, the categories and the meta on the overlay, and Text Align puts that block in one of nine positions. Classic keeps its caption under the image and leaves only an icon on top. Emerge raises a caption panel from the bottom edge instead. The title placement FAQ has the short answer.